
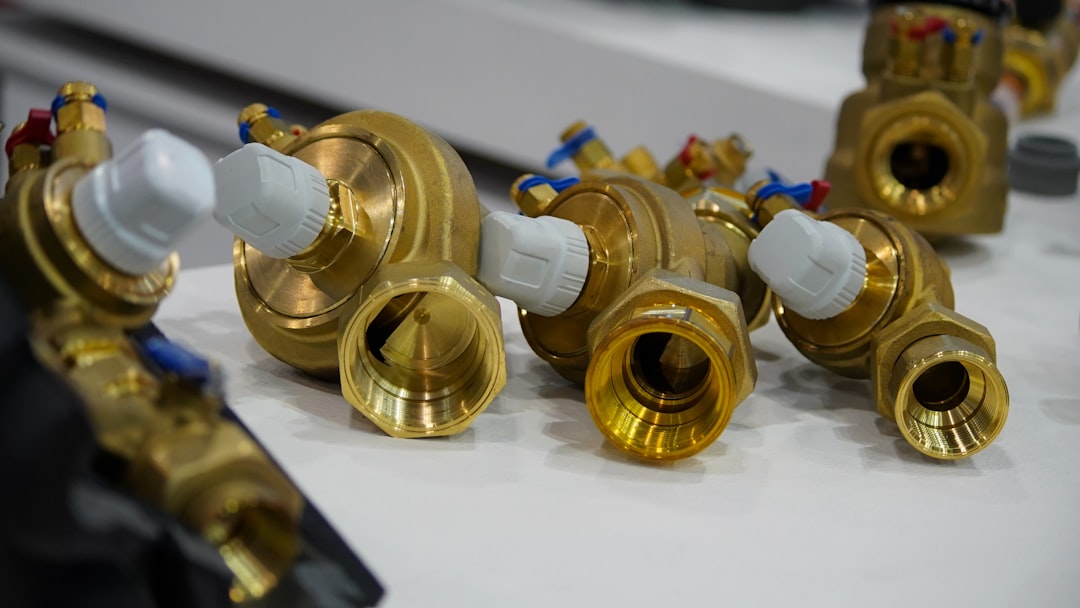
Why Hot Water Cylinder Valve Replacement Matters for Your Home’s Safety
Hot water cylinder valve replacement is one of the most important maintenance tasks you can do to keep your water heater safe, efficient, and running longer.
Here’s a quick overview of what’s involved:
- Identify the faulty valve – drain valve, T&P (temperature and pressure) relief valve, or gas control valve
- Turn off water and power/gas supply before touching anything
- Drain the tank using a garden hose connected to the drain valve
- Remove the old valve with an adjustable wrench, turning counter-clockwise
- Wrap threads with PTFE tape and install the new valve clockwise until snug
- Refill the tank, bleed air from the system, and test for leaks
Most valve replacements are straightforward DIY jobs — but working near pressurized hot water and gas lines carries real risk if you skip safety steps.
Water heaters typically last 8 to 12 years, and valve failures are among the most common issues homeowners face during that time. A leaking or stuck valve isn’t just an annoyance — a faulty temperature and pressure relief valve, for example, can lead to dangerous pressure buildup inside the tank.
At Honest Home Services, we’ve spent over 20 years helping Utah homeowners with hot water cylinder valve replacement and all types of water heater repairs. We’re here to walk you through how to do it safely — and to let you know when it’s time to call in a pro.
Simple hot water cylinder valve replacement glossary:
Understanding Hot Water Cylinder Valve Replacement Needs
When we talk about hot water cylinder valve replacement, we aren’t just talking about one single part. Your water heater is a sophisticated system that relies on several different valves to stay functional and safe. Understanding which one is acting up is the first step toward a successful repair.
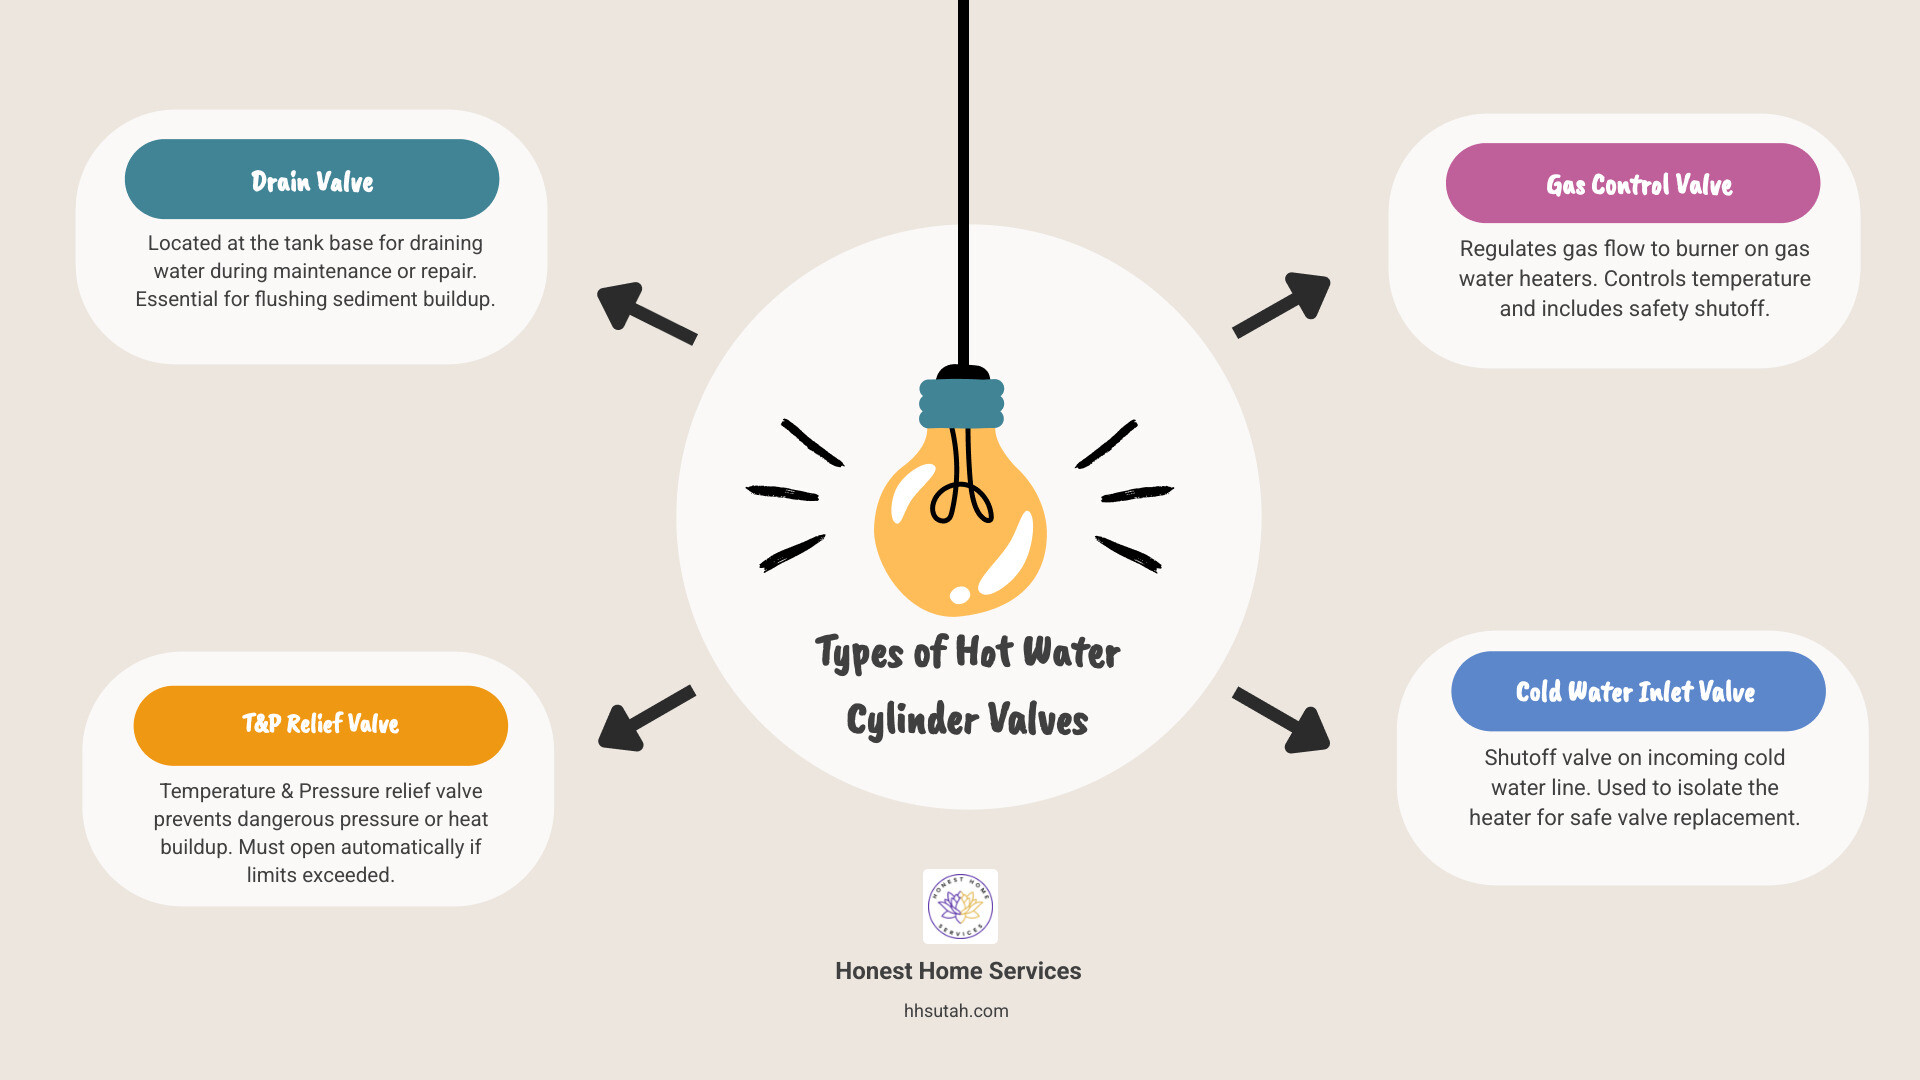
The three primary valves you’ll encounter are:
- The Drain Valve: Located at the bottom of the tank, this is used for flushing out sediment. Over time, these plastic or brass valves can become brittle or clogged with minerals, leading to a persistent drip.
- The T&P (Temperature and Pressure) Relief Valve: This is your tank’s “emergency exit.” It is designed to open if the internal temperature exceeds 210°F or the pressure hits 150 psi. If this valve is leaking or weeping, it’s often a sign that it has reached the end of its life or your system is over-pressurized.
- The Gas Control Valve: For gas units, this valve regulates the flow of fuel to the burner. If your pilot won’t stay lit or the water isn’t getting hot, the control valve might be the culprit.
Sediment buildup is a particularly common issue here in Northern Utah. The hard water in Salt Lake City and surrounding areas like Bountiful and Layton contains high levels of calcium and magnesium. These minerals settle at the bottom of the tank, right where your drain valve sits, often causing it to fail prematurely.
Valve Comparison Table
| Valve Type | Primary Function | Typical Lifespan | Common Failure Sign |
|---|---|---|---|
| Drain Valve | Flushing sediment/draining tank | 10-15 years | Constant dripping from the hose bib |
| T&P Valve | Safety pressure release | 3-5 years | Weeping water or stuck lever |
| Gas Valve | Fuel regulation & thermostat | 10-15 years | Pilot light issues or no heat |
Common Signs You Need a New Valve
You don’t always need to be a plumbing expert to know something is wrong. Watch for these red flags:
- Persistent Dripping: If you see a puddle under the discharge pipe or the drain spout, the internal seal is likely gone.
- Rust and Corrosion: If the metal around the valve threads looks crusty, orange, or green, the valve is reaching the end of its road.
- Stuck Lever: If you try to test your T&P valve and the silver lever won’t budge, it won’t be able to protect your home in an emergency.
- Mineral Deposits: White, chalky buildup around the valve indicates “hard water” leaks that have evaporated and left minerals behind.
Why Valve Maintenance Matters in 2026
As of April 2026, energy costs remain a significant concern for Utah families. A faulty valve can lead to “ghost cycling,” where your heater constantly works to reheat water lost through a leak. This can account for a 10% to 20% increase in your monthly utility bills. By performing a timely hot water cylinder valve replacement, you protect your tank from internal corrosion and keep your system running at peak energy efficiency.
Preparation and Safety for Hot Water Cylinder Valve Replacement
Before you grab your wrench, safety must be your top priority. You are dealing with high temperatures, high pressure, and potentially gas or high-voltage electricity.
Safety Precautions
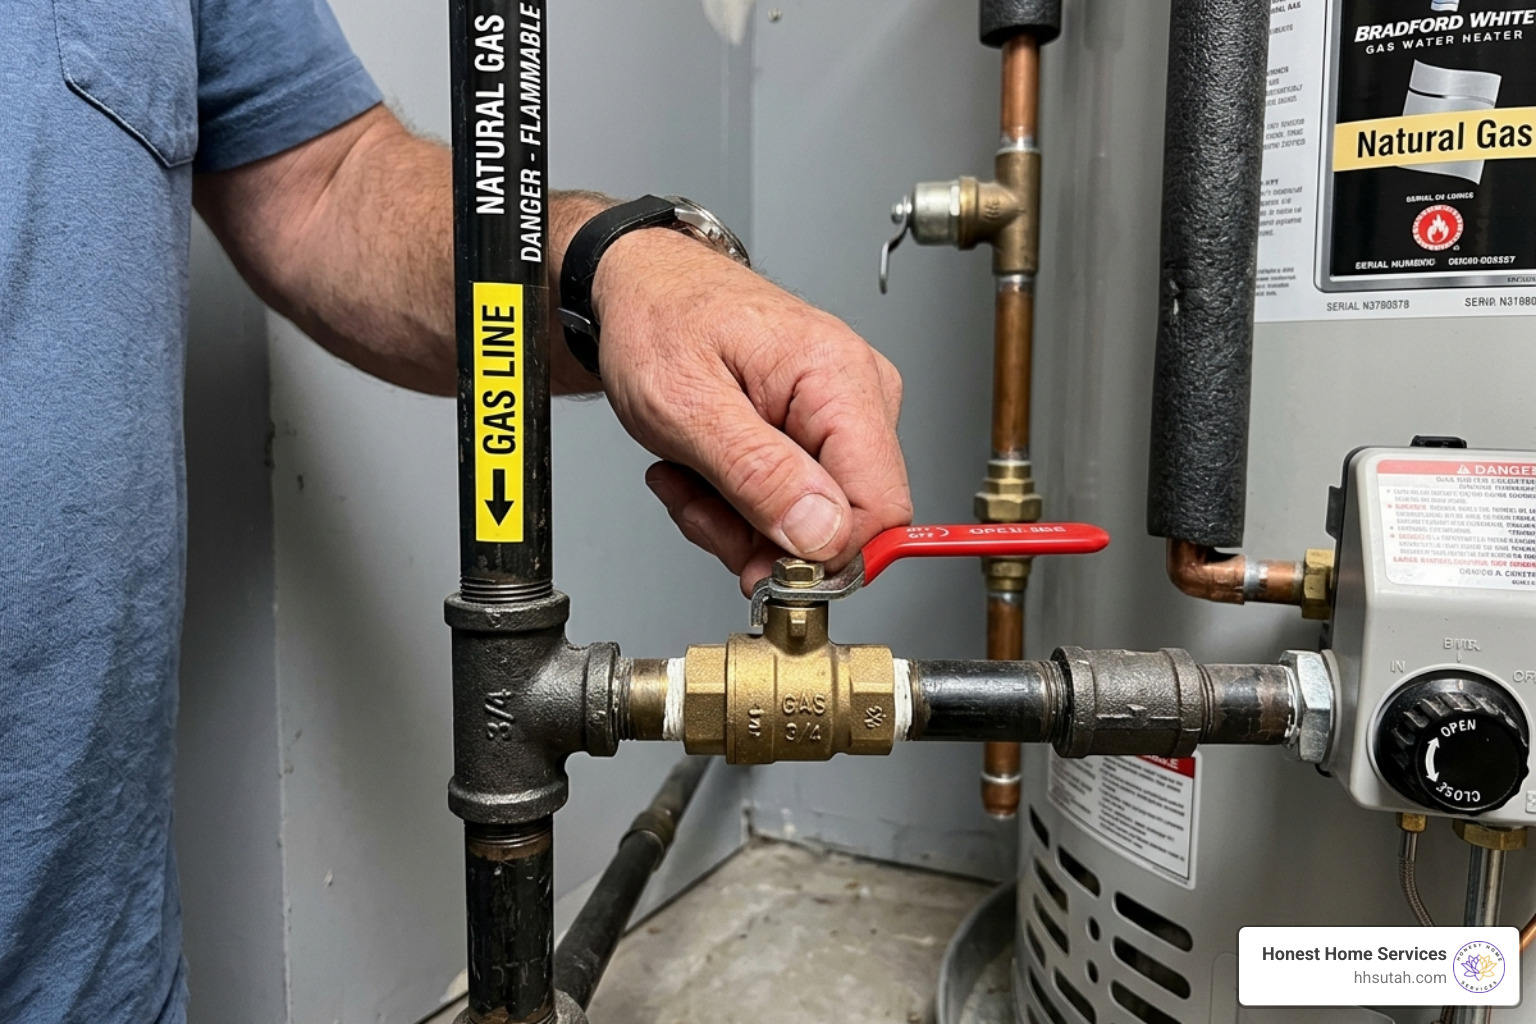
- Power Isolation: For electric water heaters, switch off the dedicated breaker in your electrical panel. For gas heaters, turn the control knob to “OFF” and close the manual gas shutoff valve on the pipe leading to the unit.
- Water Shutoff: Turn the cold water supply valve (usually located on the pipe entering the top of the heater) clockwise until it stops.
- Avoid Burns: The water inside your tank can be upwards of 140°F. Always allow the tank to cool for a few hours before draining, or wear heat-resistant gloves.
- Protective Gear: Wear safety glasses. When you remove a valve, a sudden spray of water or debris is always a possibility.
Tools and Materials Required
Having everything ready will make the process much smoother. You will generally need:
- Adjustable Wrench & Pipe Wrench: For gripping and turning the valves.
- PTFE (Teflon) Tape: Essential for creating a watertight seal on the new threads.
- Replacement Valve: Ensure you have the correct size (usually 3/4 inch for most residential tanks).
- Garden Hose: To direct water to a floor drain or outside.
- Bucket: To catch any residual drips during the swap.
For more detailed information on specific components, check out our guide on everything you need to know about new water heaters.
Safely Draining the System
You cannot perform a hot water cylinder valve replacement while the tank is full of pressurized water.
- Attach a garden hose to the drain valve.
- Run the other end to a safe drainage spot.
- Open a hot water faucet somewhere in the house (like a kitchen sink) to act as a vacuum break, allowing air in so the water can flow out.
- Open the drain valve. If you are replacing the T&P valve, you only need to drain the water level down about 6-10 inches. If you are replacing the drain valve itself, you’ll need to empty the tank completely to flush out all sediment.
Step-by-Step Guide to Hot Water Cylinder Valve Replacement
Now that the system is prepared, it’s time for the actual replacement. Whether you are installing a standard part or upgrading to a high-flow, full-port brass valve, the technique remains largely the same.
Removing the Old Drain Valve
Using your pipe wrench or a large adjustable wrench, grip the body of the old valve. Turn it counter-clockwise (to the left).
- Pro Tip: If the valve is stuck due to years of mineral buildup, apply a small amount of penetrating oil to the threads and let it sit for 15 minutes.
- Caution: Be gentle. You don’t want to apply so much force that you crack the tank’s internal lining.
Once the valve is out, use a rag to clean the threads on the tank. This is a great time for a corrosion inspection to see if the tank walls are still healthy.
Installing the New Hot Water Cylinder Valve Replacement
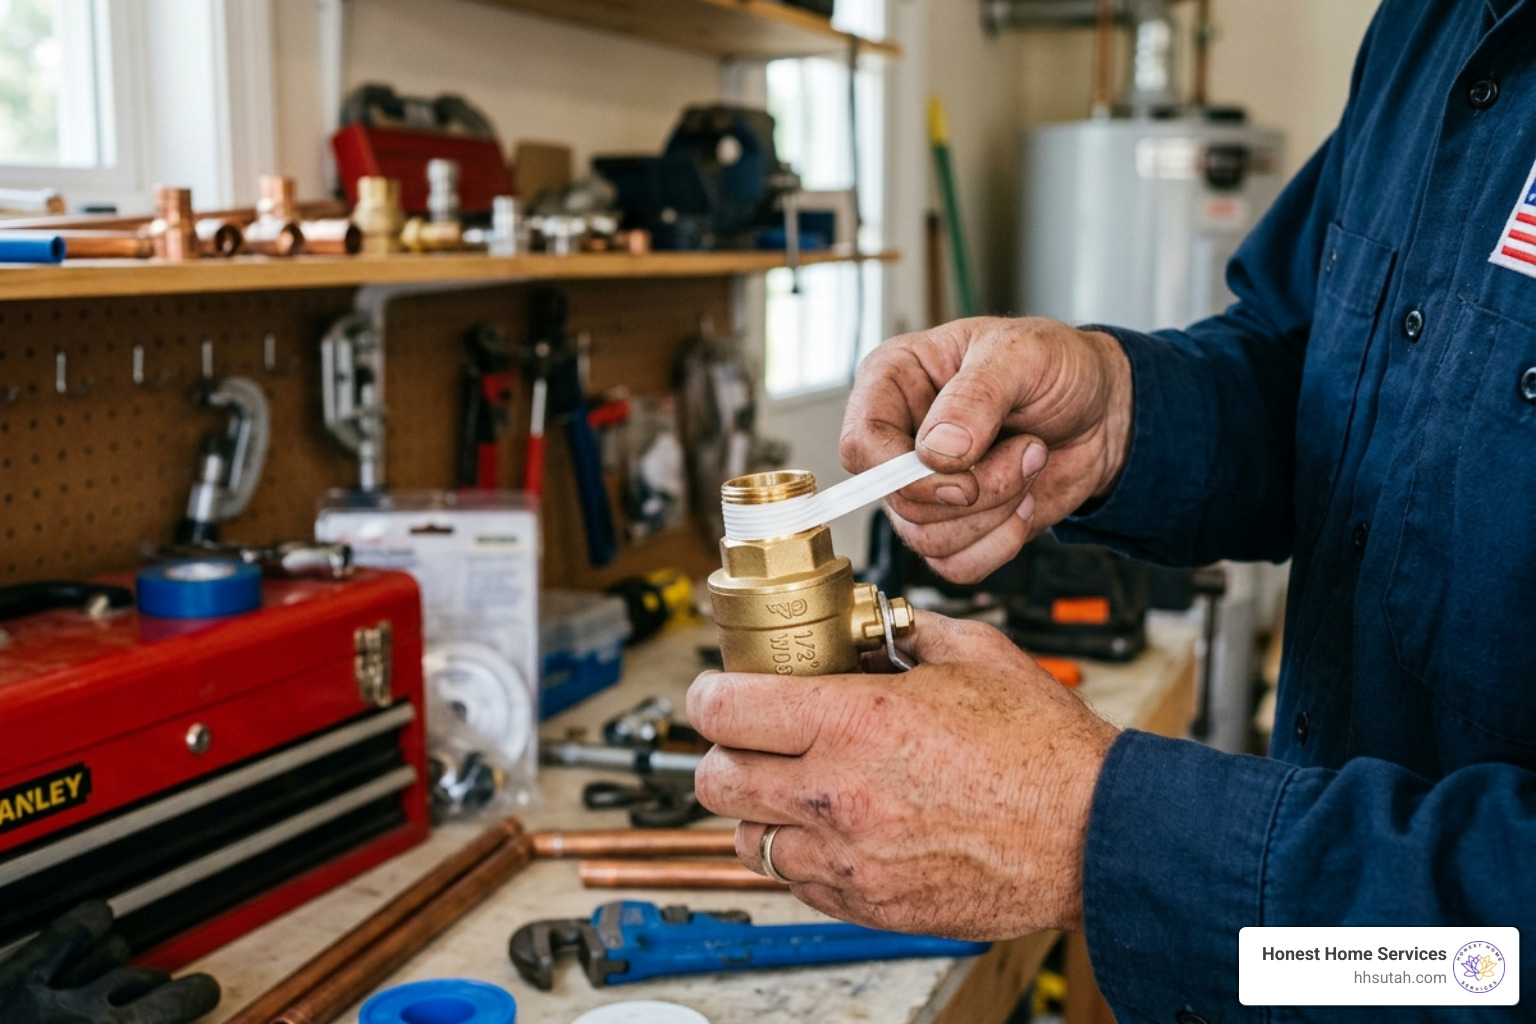
- Apply PTFE Tape: Wrap the threads of the new valve with 3 to 5 layers of PTFE tape, wrapping in the direction of the threads (clockwise) so the tape doesn’t unravel as you screw it in.
- Hand Tighten First: Thread the new valve into the tank by hand to ensure you don’t cross-thread it.
- Wrench Tighten: Use your wrench to snug it down. It should be tight enough to prevent leaks, but avoid over-tightening, which can damage the gaskets or threads.
- Alignment: Ensure the outlet of the valve is pointing down or toward your discharge pipe.
While you have the tools out, this is the perfect opportunity for an anode rod check. If your anode rod is depleted, your new valve won’t matter much because the tank will start to rust from the inside out.
Testing and Maintenance After Replacement
Once the new valve is secure, you aren’t quite finished. You need to bring the system back online carefully to ensure everything is watertight and functional.
- Close the Drain Valve: Make sure your new valve is in the “OFF” position.
- Open the Cold Water Supply: Turn the water back on slowly. You’ll hear the tank start to fill.
- Bleed the Air: Keep that kitchen hot water faucet open. Initially, it will sputter and blast air. Once a steady stream of water flows without air bubbles, the tank is full.
- Check for Leaks: Dry the area around the new valve completely with a paper towel. Wait 10 minutes and check for any dampness. Even a tiny “weep” needs to be addressed by slightly tightening the valve.
- Restore Power/Gas: Once you are 100% sure the tank is full (never turn on the heat with a dry tank!), restore the electricity or relight the pilot.
Final Checks for Your Hot Water Cylinder Valve Replacement
After the water has had time to heat up, check the T&P valve one more time. Lift the lever briefly to ensure water flows out and stops immediately when you release it. If you have an expansion tank (those small blue or white tanks sitting above the heater), check its pressure too. In Salt Lake City, thermal expansion is a common cause of premature valve failure.
If you are unsure about the state of your system, a professional inspection can provide peace of mind and help you avoid a flooded basement.
Related Components to Inspect
A valve replacement is often a symptom of a larger maintenance need. While you’re working, take a look at:
- The Thermocouple: If you have a gas heater and the pilot keeps going out, this small sensor might need cleaning or replacement.
- Heating Elements: For electric units, check for scale buildup on the elements, which can cause humming or buzzing noises.
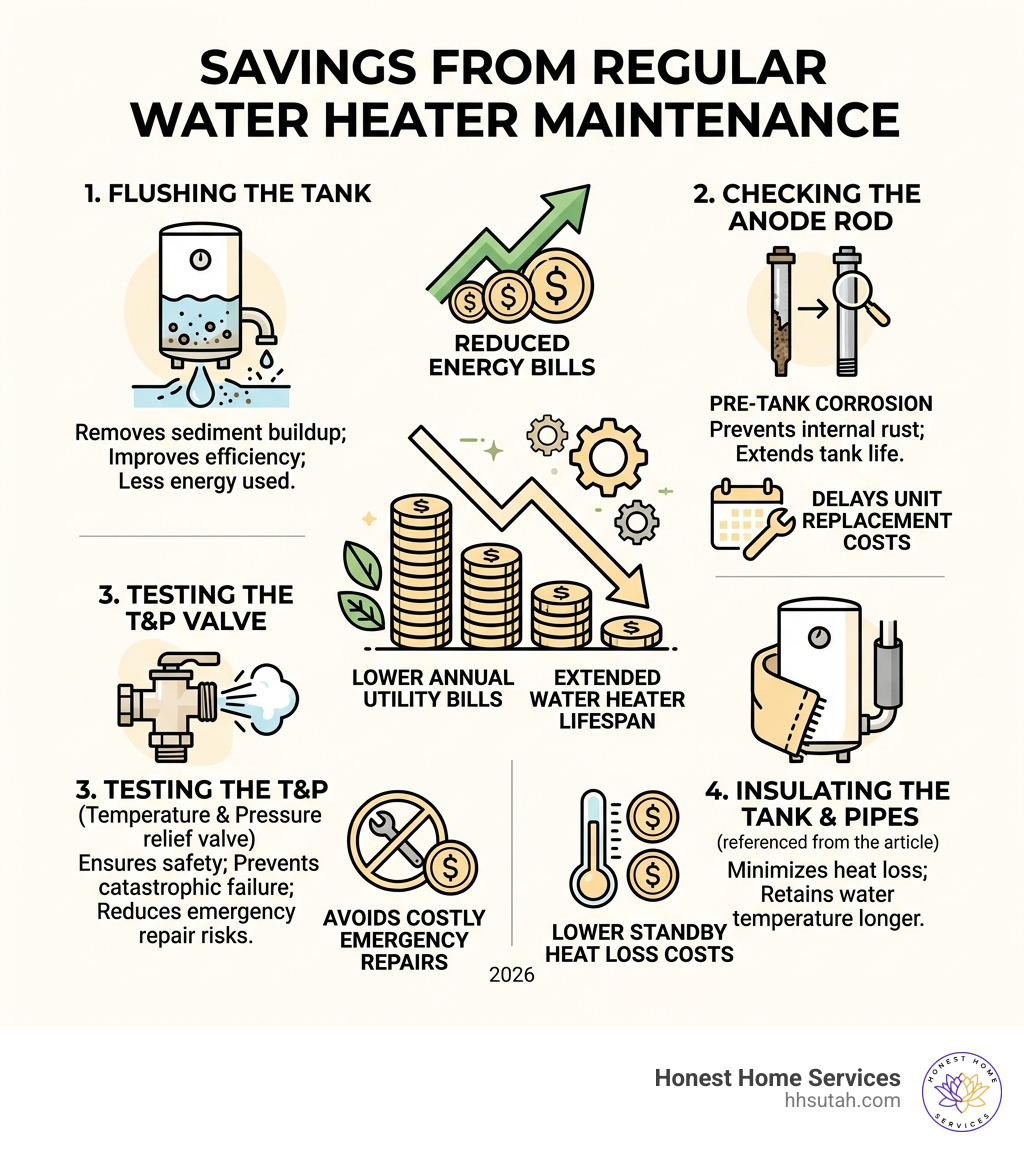
- Tank Insulation: Adding an insulation blanket can save you money, especially in the colder climates of Park City or Bountiful.
Frequently Asked Questions about Cylinder Valves
Can I DIY a hot water cylinder valve replacement?
In many cases, yes. If you are comfortable using a pipe wrench and following safety protocols, replacing a drain valve or T&P valve is a manageable weekend project. However, if you are dealing with a complex gas control valve or if your pipes are heavily corroded, it’s best to call a professional. In Utah, improper gas connections can lead to serious safety hazards.
How often should I replace my T&P relief valve?
Most manufacturers and safety experts recommend replacing the T&P relief valve every 3 to 5 years. Even if it isn’t leaking, the internal spring and seal can degrade, meaning it might not open when you actually need it to. Think of it like a smoke detector battery — you replace it before it fails.
Why is my new drain valve still dripping?
If you’ve just finished a hot water cylinder valve replacement and it’s still dripping, there are three likely causes:
- Poor Thread Seal: You may need more PTFE tape or a slightly tighter turn.
- Debris: A small piece of sediment might be stuck in the new valve’s seat. Try opening and closing it quickly to flush the debris out.
- Thermal Expansion: If your home doesn’t have an expansion tank, the pressure from heating water has nowhere to go but out the valves. This is a common troubleshooting issue in newer, closed-loop plumbing systems.
Conclusion
Taking care of your water heater doesn’t have to be a headache. A simple hot water cylinder valve replacement can extend the life of your appliance, lower your utility bills, and—most importantly—keep your family safe. Whether you’re in Salt Lake City, Bountiful, or Draper, staying on top of these small repairs prevents big disasters down the road.
If you’ve run into a stubborn valve, a gas issue, or you just want the job done right the first time, we’re here to help. Honest Home Services provides reliable, affordable plumbing throughout Northern Utah. We pride ourselves on fair pricing and expert technicians who treat your home like their own.
Don’t let a small leak turn into a big flood. For expert Salt Lake City Water Heater Repair, give us a call today!