

When Your Hot Water Goes Cold: What You Need to Know About Gas Hot Water Tank Thermostat Replacement
Gas hot water tank thermostat replacement is something most Utah homeowners can handle themselves — and doing it right can restore hot water in just a few hours.
Here’s the quick version:
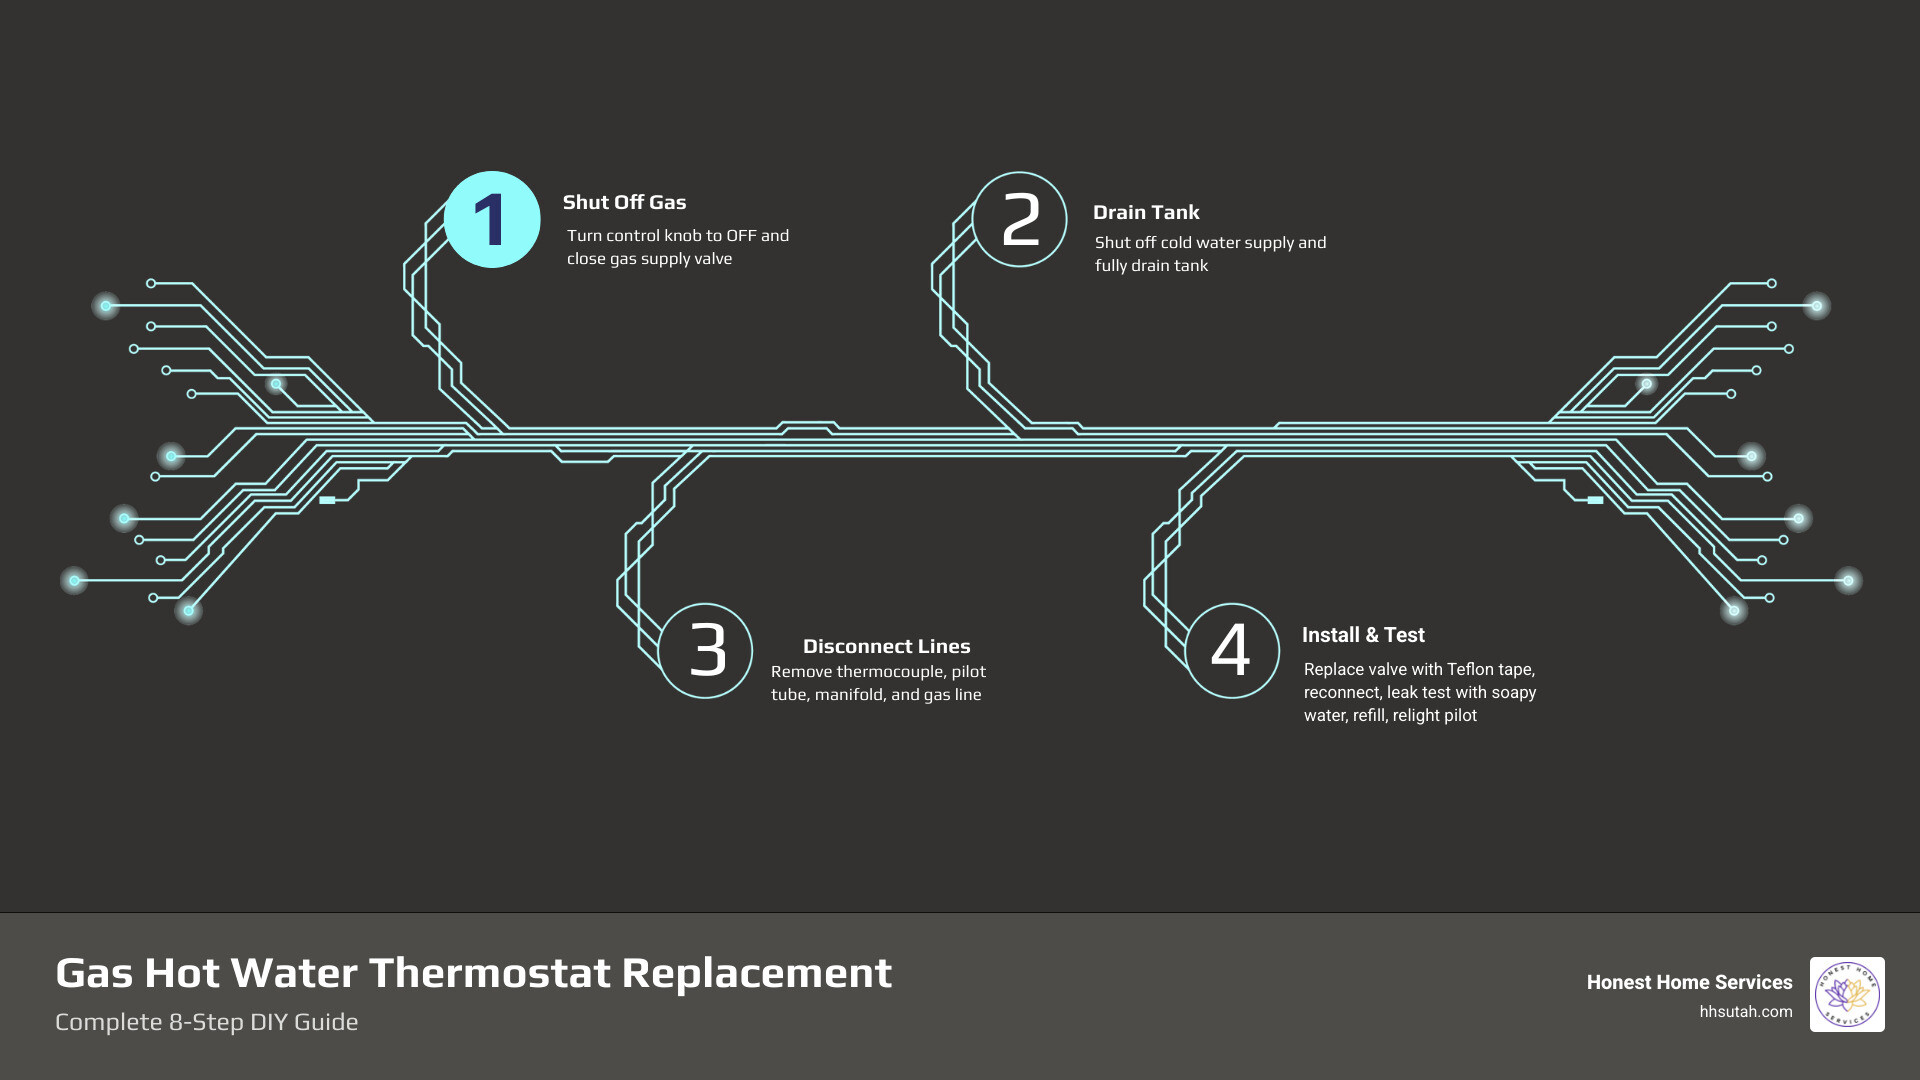
- Turn the gas control knob to OFF and shut off the gas supply valve
- Turn off the cold water supply and drain the tank completely
- Disconnect the thermocouple, pilot tube, manifold tube, and gas line from the old gas control valve
- Unscrew the old valve using a pipe threaded into the inlet (counterclockwise)
- Wrap the new valve’s threads with Teflon tape and screw it in (clockwise)
- Reconnect all tubes and lines, then test every joint for gas leaks using soapy water
- Fill the tank completely with water before lighting the pilot
- Relight the pilot, set temperature to 120°F, and confirm hot water at the tap
On a gas water heater, the thermostat and gas control valve are typically one integrated unit. When it fails, you lose hot water — or worse, your water gets dangerously hot. The fix isn’t complicated, but it does involve gas lines, so doing it safely and correctly matters.
At Honest Home Services, we’ve spent over 20 years handling gas hot water tank thermostat replacement and water heater repairs across Northern Utah — and we know exactly where DIY jobs go smoothly and where they go sideways. Whether you tackle this yourself or need a hand, this guide walks you through every step the right way.
Related content about gas hot water tank thermostat replacement:
Signs You Need a Gas Hot Water Tank Thermostat Replacement

How do you know if your thermostat is actually the villain in your morning shower tragedy? Unlike electric heaters that have separate upper and lower thermostats, a gas water heater uses a “combination control valve.” This box on the front of your tank regulates the gas flow and senses the water temperature.
Here are the most common red flags:
- Inconsistent Temperatures: If your water is scalding one minute and lukewarm the next, the internal sensor is likely failing. This is a common water heater problem that indicates the bi-metal strip or electronic sensor inside the valve can no longer accurately read the tank’s surface temperature.
- The “Cold Shoulder”: If you have no hot water at all, the pilot might be out because the ECO (Energy Cut Off) has tripped. On most modern valves, once the ECO trips due to overheating, the entire valve is “one-and-done” and must be replaced. This is often why your water heater is giving you the cold shoulder.
- Water is Too Hot: If you’ve turned the dial down but the water remains dangerously hot, the thermostat is “stuck” in the ON position. This is a safety hazard and requires immediate attention.
- Unusual Popping or Rumbling: While often caused by sediment buildup, these noises can also occur if a faulty thermostat allows the water to boil at the bottom of the tank. If you’re hearing these sounds, it’s worth learning how to test and replace a water heater thermostat before the unit fails entirely.
- Increased Energy Bills: A thermostat that doesn’t shut off when it should will keep your burner running longer than necessary, padding the pockets of the gas company.
Essential Preparation and Safety Precautions

Before you grab your wrench, let’s talk safety. You are dealing with natural gas or propane, and a mistake here isn’t just a “puddle on the floor” kind of problem.
1. Shut Down the Gas: Turn the dial on the water heater to “OFF.” Then, find the manual gas shut-off valve on the pipe leading to the heater and turn it until the handle is perpendicular to the pipe.
2. Drain the Tank: You cannot replace the thermostat/valve while the tank is full, as the sensor probe sits directly in the water path.
- Turn off the cold water inlet valve.
- Attach a garden hose to the drain valve at the bottom.
- Open a hot water faucet upstairs to break the vacuum.
- Open the drain valve. For more on preventing mess during this stage, see our guide to fixing your leaky water heater.
3. Safety Gear: Wear insulated gloves and eye protection. You’ll be working near metal edges and potentially hot water.
4. Tool Checklist:
- Adjustable wrench (and a pipe wrench for backup)
- Screwdriver set
- A short length of threaded 1/2-inch pipe (to use as a lever)
- Teflon tape or pipe joint compound (approved for gas)
- A bucket and soapy water (for leak testing)
- Multimeter (to check for continuity if you have an electronic model)
For a complete overview of keeping your system in top shape, check out how to service your gas water heater.
Identifying Your Gas Hot Water Tank Thermostat Replacement Model
You can’t just grab any valve off the shelf. You need an exact match for your unit’s BTU rating and gas type. Check the data plate on the side of your tank for the model number. If you have a Whirlpool, you might find specific instructions in the Whirlpool W10100910 manual.
Critical Note: Natural Gas vs. Propane Never swap a natural gas valve for a propane one. They operate at different pressures and often have different threading.
| Feature | Natural Gas (NG) | Propane (L.P.) |
|---|---|---|
| Thread Direction | Standard (Right-hand) | Often Reverse (Left-hand) on manifold |
| Pressure | Lower Pressure | Higher Pressure |
| Interchangeable? | NO | NO |
Step-by-Step Gas Hot Water Tank Thermostat Replacement
Now that the tank is empty and the gas is off, it’s time for the gas hot water tank thermostat replacement.
- Disconnect the Components: Use your adjustable wrench to unscrew the three lines at the bottom of the valve: the large manifold tube (burner supply), the small pilot tube, and the thermocouple (the thin copper wire). If you have an electronic ignition, disconnect the igniter wire as well. If you’re unsure about the thermocouple, refer to our ultimate guide to thermocouple replacement.
- Disconnect the Main Gas Line: Unscrew the pipe connecting your home’s gas supply to the side of the valve.
- Remove the Old Valve: Here is the pro trick: don’t use a pipe wrench on the valve body; you could crack it. Instead, thread a short piece of 1/2-inch pipe into the gas inlet hole and use it as a handle to turn the entire valve counterclockwise. It will eventually unscrew from the tank.
- Prepare the New Valve: Clean the threads on the tank opening. Apply gas-rated Teflon tape or pipe dope to the threads of the new valve.
- Install the New Valve: Screw the new valve in by hand clockwise, then use your pipe lever to give it the final turns until it is upright and snug.
- Reconnect Everything: Attach the main gas line first. Then, reconnect the manifold tube, pilot tube, and thermocouple. These should be hand-tight plus about a 1/4 turn with a wrench. Do not over-tighten!
For more visual guidance, you can see similar steps at waterheatertimer.org.
Handling the Thermostat Sensor and Plastic Covers
When you unbox your new valve, you’ll notice a long copper probe. This is the thermal sensor.
- The Plastic Sleeve: Many DIYers ask if they should remove the plastic sleeve or coating on this probe. The answer is usually no. According to Heater Advisor, this coating is often designed to resist mineral buildup (limescale) from the hard water we have here in Salt Lake County. If it feels like it’s part of the probe, leave it alone.
- The Back Cover: The plastic covering on the back of the thermostat unit protects the internal wiring and ensures the sensor makes tight contact with the tank surface. Do not remove this either; it’s essential for accurate temperature sensing.
Post-Installation: Leak Testing and Restarting
Do not light the pilot yet! You have two critical tasks: checking for leaks and filling the tank.
1. The Soap Test: Turn the main gas supply valve back on. Mix a little dish soap with water and brush it onto every connection you touched. If you see growing bubbles, you have a leak. Shut the gas off immediately and tighten the connection. This is a vital step to fix water heater issues like a pro.
2. Fill the Tank: This is where many people ruin their new valve.
- Close the drain valve at the bottom.
- Turn the cold water supply back on.
- Keep a hot water faucet open somewhere in the house.
- Wait until a steady stream of water (no air sputtering) comes out of that faucet. Only then is the tank full.
3. Lighting the Pilot: Follow the manufacturer’s instructions on the front of the tank. Usually, you’ll turn the knob to “Pilot,” hold it down, and click the igniter button until you see a small blue flame through the sight glass.
4. Calibration: Set the dial to 120°F. This is the “sweet spot” for safety and efficiency. For more on modern features, check out everything you need to know about new water heaters.
Frequently Asked Questions about Thermostat Replacement
Should I remove the plastic coating on the thermostat probe?
No. As mentioned earlier, that coating is typically there to prevent mineral buildup. Removing it could lead to premature failure of the sensor in Utah’s hard water. If the probe came with a loose “shipping cap,” remove that, but leave any thin, tight-fitting plastic sleeves intact.
How much does a gas water heater thermostat cost in 2026?
Prices have stabilized a bit, but you can expect to pay:
- Standard Mechanical Valve: $90 – $150
- Electronic/Intellivent Valve: $200 – $300
- Professional Labor: $100 – $200
You can find current pricing at The Home Depot to get an idea of the parts cost for your specific Rheem or Honeywell model.
What happens if I light the heater before the tank is full?
This is called “dry firing.” In a gas unit, it can cause the tank’s glass lining to crack or the bottom of the tank to overheat and warp. This often leads to immediate tank failure. Always ensure the tank is 100% full before lighting. If you’ve already made this mistake, you might need to know what to do when your water heater quits on you.
Conclusion
Performing a gas hot water tank thermostat replacement is a great way to save money and keep your home comfortable. While you’re down there, we highly recommend checking your anode rod. Replacing a $30 anode rod can double the life of your tank. Check out our Gas Water Heater Anode Guide for more info.
If you hit a snag, or if you’d rather have a certified expert handle the gas lines for you, Honest Home Services is here to help. We provide transparent, fair-priced water heater repair in Salt Lake City and across the Wasatch Front, from Davis County to Utah County. We’re local, we’re expert, and we guarantee your satisfaction.
Need a hand? Give us a call today!