

When Your Hot Water Fails: What You Need to Know About Hot Water Cylinder Thermostat Replacement
Hot water cylinder thermostat replacement is one of the most common and affordable fixes for a water heater that won’t heat properly. Here’s a quick overview of the process:
How to replace a hot water cylinder thermostat (quick steps):
- Turn off the breaker to your water heater at the electrical panel
- Remove the access panel and peel back the insulation
- Verify power is off using a non-contact voltage tester
- Photograph and label all existing wires before disconnecting
- Slide out the old thermostat from its mounting clip
- Snap in the new thermostat flush against the tank wall
- Reconnect wires exactly as labeled, then replace the insulation and panel
- Restore power and wait up to 2 hours for the tank to fully reheat
- Test hot water at a faucet and confirm the temperature reaches 120°F
Imagine stepping into what should be a hot shower — only to be hit with lukewarm or ice-cold water. It’s frustrating, and it often happens without warning.
The good news? In many cases, the problem isn’t a broken water heater. It’s just the thermostat. This small component acts as the “brain” of your water heater, telling the heating element when to turn on and off. When it fails, your whole hot water supply suffers — but replacing it is a manageable DIY project for most homeowners.
That said, doing it safely and correctly matters. A loose wire connection, a thermostat that isn’t flush against the tank, or a temperature set too high can all cause serious problems down the line.
At Honest Home Services, we’ve spent over 20 years helping Utah homeowners with hot water cylinder thermostat replacement and all types of water heater repairs — so we know exactly where DIYers run into trouble. If you ever need a professional hand, we’re here.
Hot water cylinder thermostat replacement vocabulary:
Understanding Your Hot Water Cylinder Thermostat
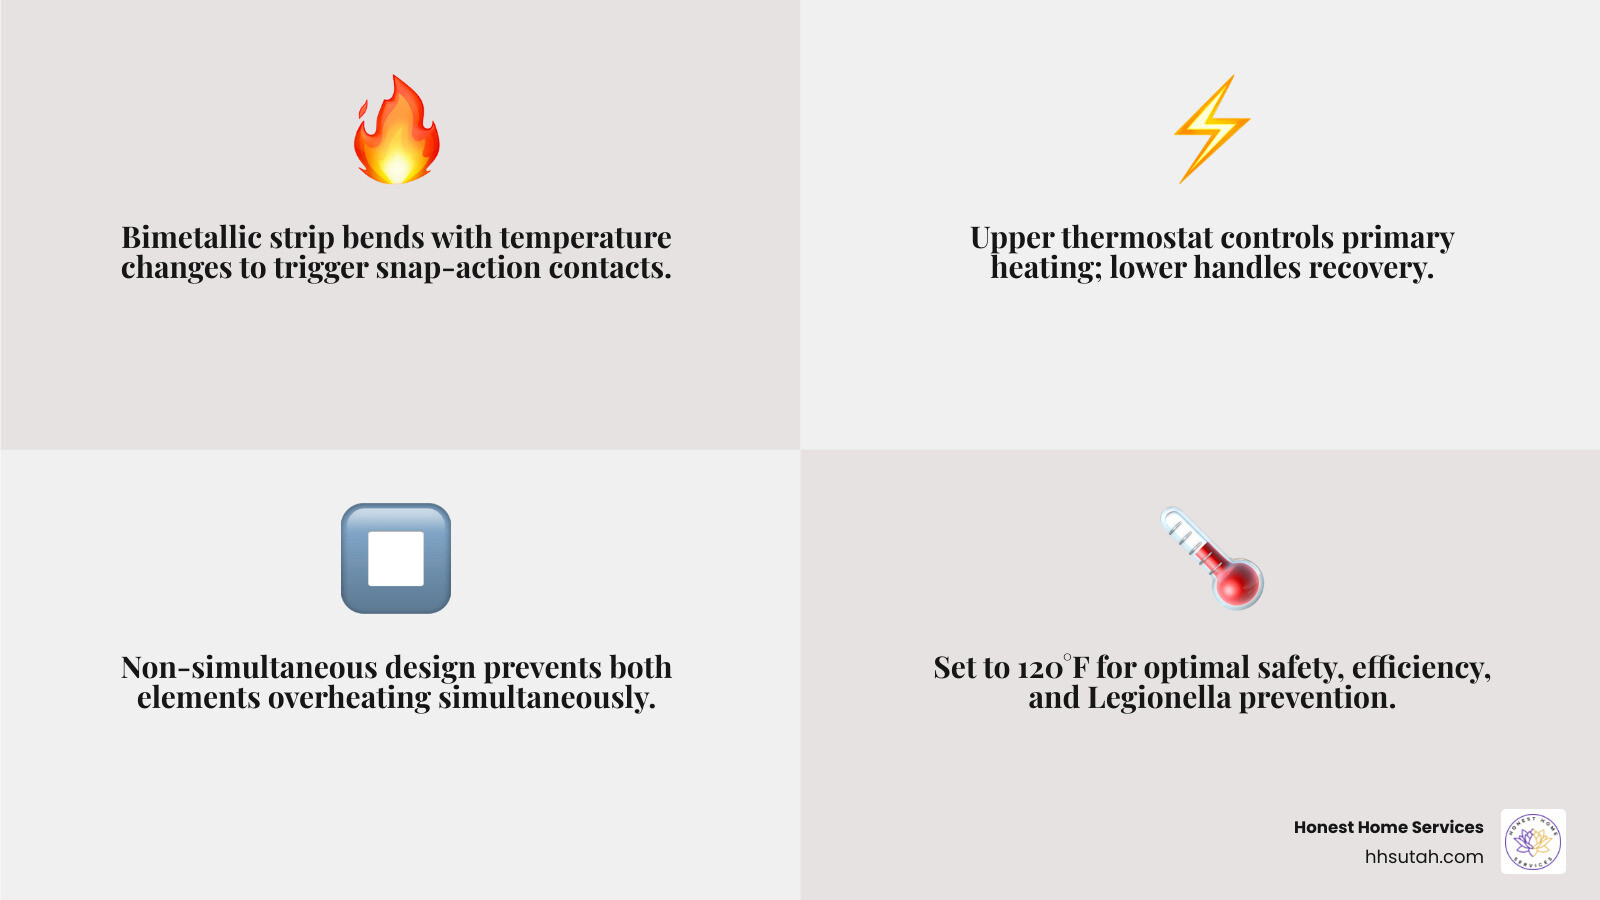
To successfully tackle a hot water cylinder thermostat replacement, it helps to understand how these devices actually work. Most residential electric water heaters in Utah use a mechanical thermostat equipped with a bimetallic strip. This strip consists of two different metals bonded together that expand at different rates when heated. As the water in the tank cools, the strip bends, triggering snap-action contacts that complete the electrical circuit and send power to the heating element.
In a standard dual-element system, the setup is “non-simultaneous.” This means the upper and lower elements never run at the same time. The upper thermostat is the boss; it ensures the top third of the tank is hot first (so you have usable water quickly) before switching power to the lower thermostat to heat the rest of the tank. Understanding this hierarchy is vital when diagnosing a common water heater problem. If one fails, the whole logic of the system breaks down.
When considering a repair, many homeowners worry about the hot water repair cost. Fortunately, thermostats are relatively inexpensive, typically ranging from $10 to $25 for the part itself, making this one of the most cost-effective DIY repairs you can perform.
Signs of a Faulty Thermostat
How do you know if the thermostat is the culprit? There are several “red flags” that suggest your water heater’s brain is malfunctioning.
- Lukewarm Water: If your water never gets truly hot, the upper thermostat might be failing to accurately read the temperature or failing to trigger the element.
- Rapidly Cooling Showers: If you have plenty of hot water at the start but it turns icy after only a few minutes, the lower thermostat is likely dead, leaving you with only a small “reserve” of hot water at the top of the tank.
- High-Limit Switch Tripping: If you find yourself constantly pressing the red “reset” button (the ECO or Energy Cut Off), it’s a sign the thermostat isn’t opening the circuit when it should, causing the water to dangerously overheat.
- Ghost Cycling: This occurs when the heater turns on and off frequently for no apparent reason, often caused by a thermostat that has lost its calibration or isn’t sitting flush against the tank.
If your system is acting up, check out our guide on why your water heater is giving you the cold shoulder for more diagnostic tips.
Why Precision Matters in May 2026
As of May 2026, energy efficiency and home safety standards are more rigorous than ever. A precise thermostat is not just about comfort; it’s about health and your wallet.
- Legionella Prevention: Bacteria like Legionella thrive in tepid water (between 68°F and 113°F). Setting your thermostat correctly ensures the water is hot enough to kill these pathogens.
- Scalding Risks: Conversely, water that is too hot can cause third-degree burns in seconds. A faulty thermostat that “sticks” in the ON position is a major safety hazard.
- Utility Bill Reduction: Water heating accounts for roughly 17% to 20% of the average Utah utility bill. A malfunctioning thermostat can lead to massive energy waste. In fact, every 10-degree reduction in your setting can save you up to 10% on heating costs.
For a deeper dive into the mechanics, you might find this DIY homeowner’s guide helpful for understanding the British “cylinder” terminology often used interchangeably with “water heater tank” in modern manuals.
Preparation and Safety for Hot Water Cylinder Thermostat Replacement
Before you grab your tools, we need to talk about safety. Electric water heaters typically run on a 240-volt, 30-amp circuit. This is not “household” electricity; it is high-voltage power that requires extreme caution.
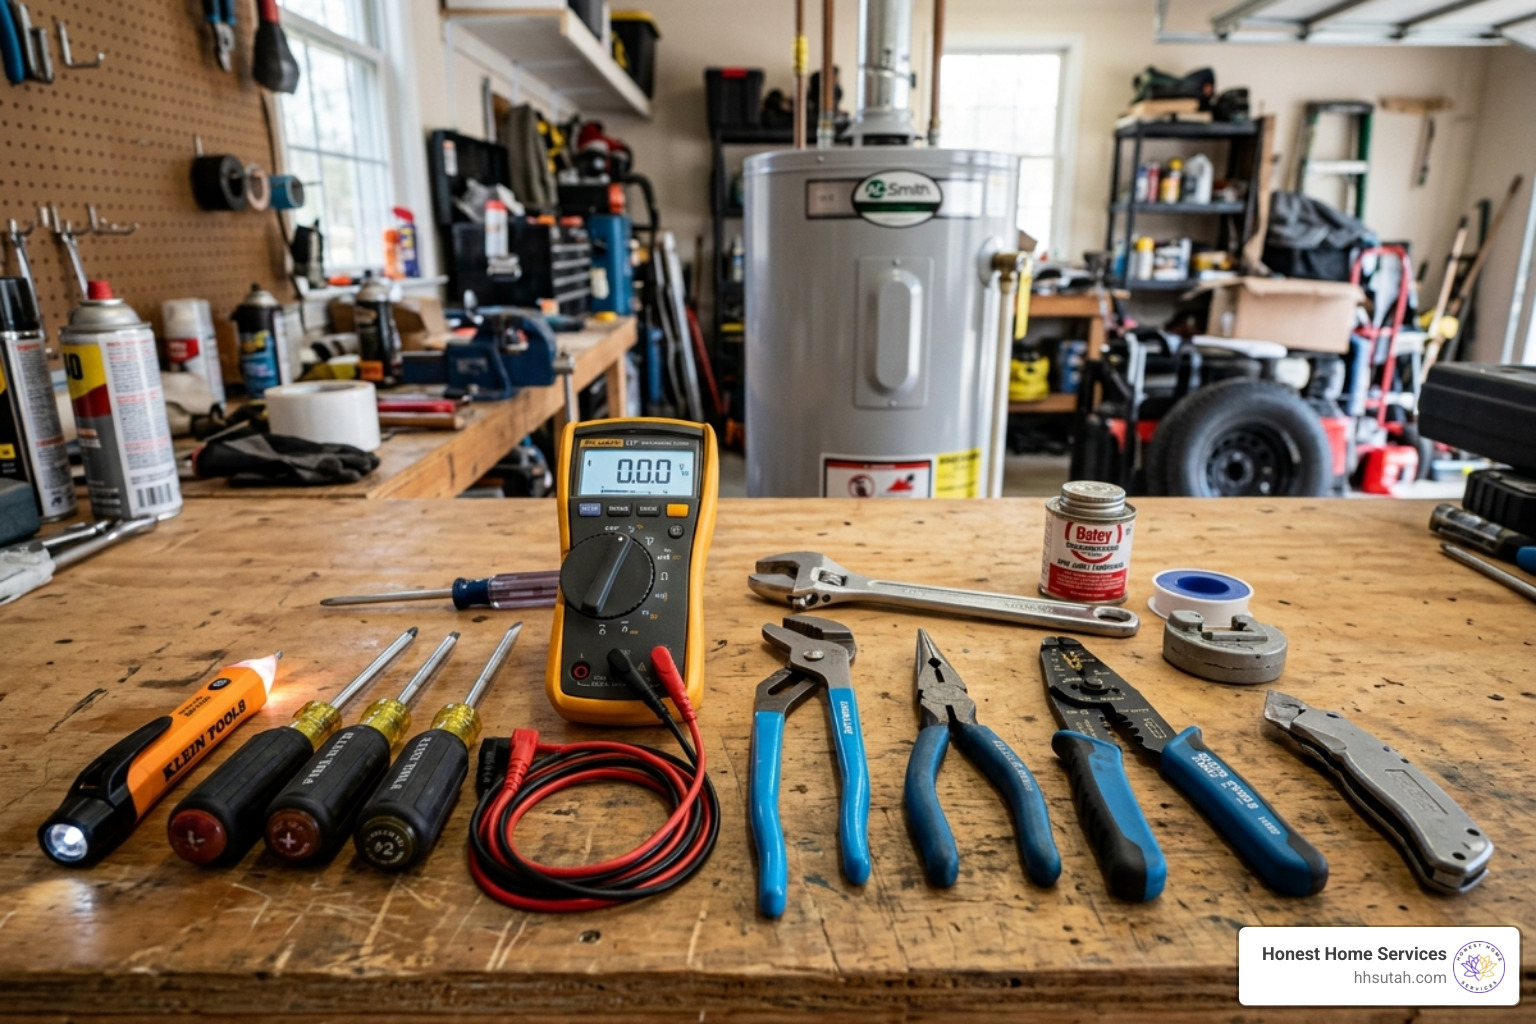
The first step is locating your electrical panel and flipping the 30-amp double-pole breaker to the OFF position. However, never assume the label on the panel is correct. We have seen many mislabeled panels in older homes across Salt Lake City and West Valley. Always use a non-contact voltage tester at the water heater itself to verify the wires are cold before touching anything. For more on what to do when your system fails, read our advice on what to do when your water heater quits on you.
Tools and Materials Required
Having the right tools on hand will turn an hour-long job into a twenty-minute one. You will need:
- Non-Contact Voltage Tester: To ensure your safety.
- Multimeter: Useful for testing continuity in the heating element while you’re in there.
- Insulated Screwdrivers: Specifically a Phillips and a flathead.
- Wire Labels or Masking Tape: To mark which wire goes where.
- Thermal Conductive Paste: (Optional but recommended) To improve the heat transfer between the tank and the thermostat sensor.
- Needle-nose Pliers: For adjusting mounting clips.
If you find that your thermostat isn’t the problem and you’re actually dealing with a gas unit, you might need our ultimate guide to thermocouple replacement instead.
Identifying Your System Type
Not all thermostats are created equal. You must identify if your system is electric or gas. Electric units have an electrical conduit entering the top and access panels on the side. Gas units have a pilot light and a large gas control valve at the bottom.
For electric units, most modern tanks use TOD (Therm-O-Disc) or Apcom style thermostats. The good news is that “Universal” kits, like those from Everbilt or Camco, are designed to fit almost all major brands including Rheem, AO Smith, Whirlpool, and Bradford White. These are often sold as “Plumber’s Packs” containing both an upper and lower thermostat. For more general info, check out everything you need to know about new water heaters.
Step-by-Step Guide to Replacing an Electric Water Heater Thermostat
Once you’ve confirmed the power is off and you have your parts, it’s time to get to work.
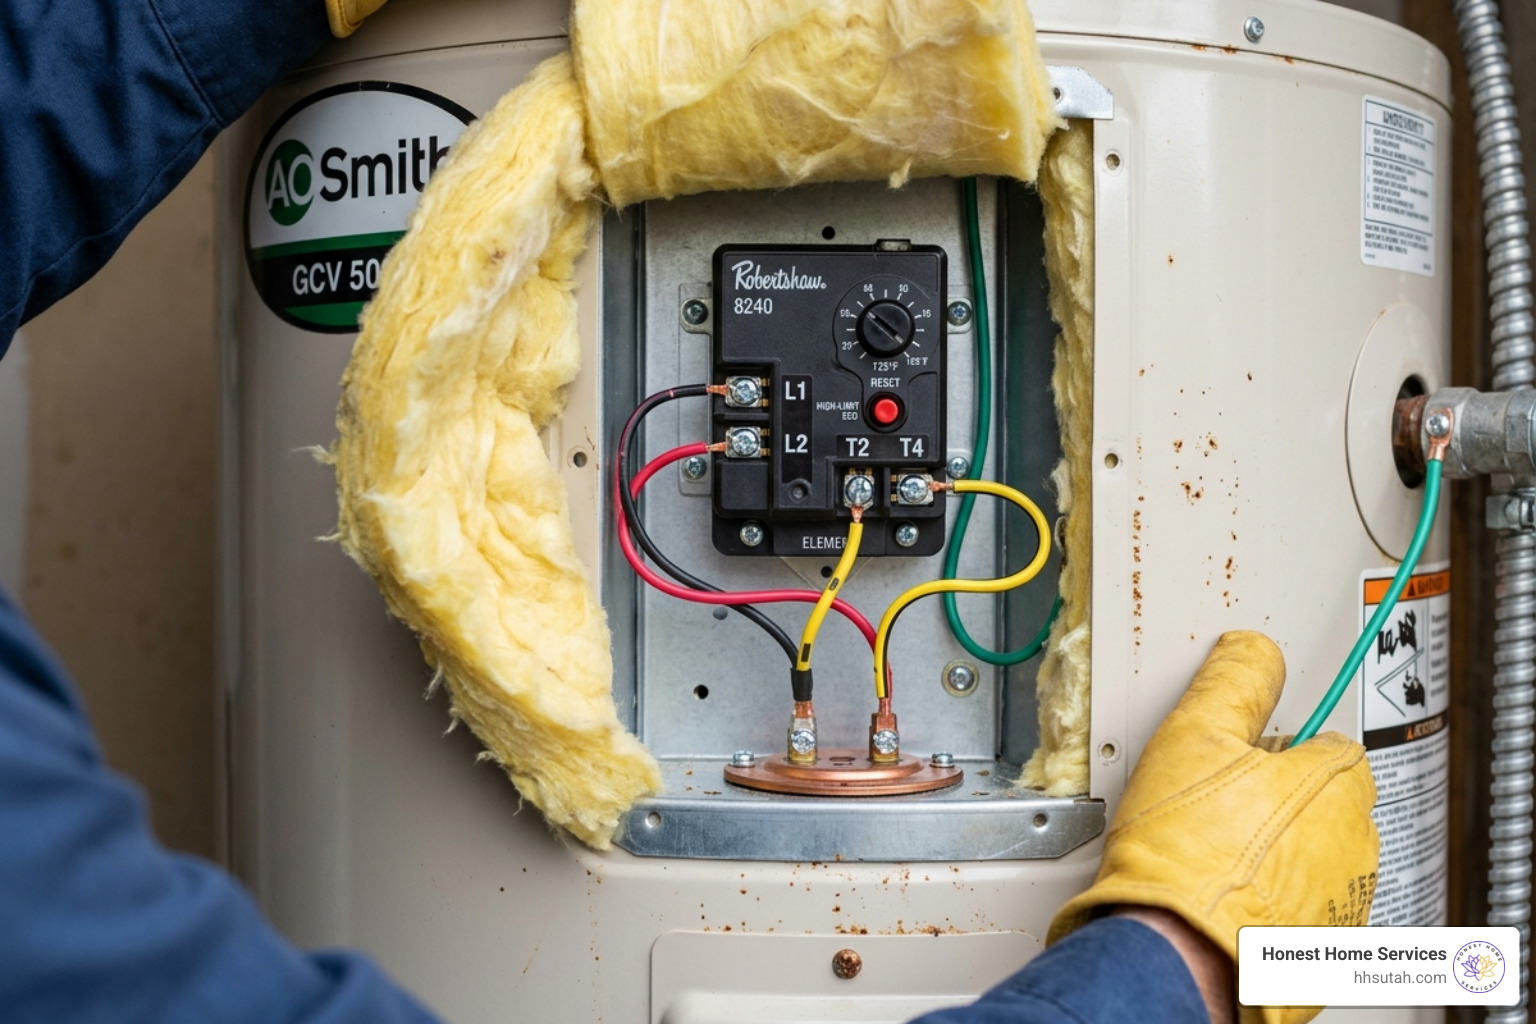
- Access the Unit: Remove the screws holding the access panel in place. Behind it, you’ll find a piece of insulation and a plastic safety shield. Carefully move these aside.
- Map the Wiring: This is the most common place for DIY errors. Take a clear photo with your phone and use tape to label each wire (e.g., “Top Left,” “Bottom Right”).
- Disconnect: Use your screwdriver to loosen the terminal screws and pull the wires away from the thermostat.
If you’re feeling confident, you’re on your way to being able to fix broken water heater issues like a pro.
Removing the Old Unit
The thermostat is held against the tank by a metal mounting bracket or spring clips.
- Release the Tension: Use your fingers or needle-nose pliers to gently pry the mounting clips outward. The thermostat should slide up and out of the bracket.
- Inspect the Tank Surface: Once the unit is out, look at the tank wall. If there is heavy corrosion or scale, wipe it clean. The new thermostat needs a smooth surface to “read” the temperature accurately.
While you have the panels open, it’s a good time to check for small leaks. If you see moisture, consult our guide on how to fix a leaky water heater.
Installing the New Hot Water Cylinder Thermostat
Slide the new thermostat into the mounting bracket until it snaps into place.
- The Business Card Test: This is a pro-tip we use at Honest Home Services. You should not be able to slide a business card between the back of the thermostat and the tank wall. If there is a gap, the thermostat will “think” the water is colder than it actually is, leading to dangerously hot water. If it’s loose, gently bend the mounting clips to provide more tension.
- Wiring: Reconnect the wires exactly as they were on the old unit, using your photo as a guide. Ensure the terminal screws are tight; loose connections can cause arcing and fire hazards.
- Reset: Ensure the red high-limit reset button is pressed in.
If the wiring looks significantly different than your old unit, don’t guess. It’s time to call for professional help to avoid damaging your system.
Post-Installation Testing and Maintenance
Before you turn the power back on, you must ensure the tank is full of water. If you drained any water during the process, open a hot water tap in the house until a steady stream flows without “burping” air. Turning on the power to a partially empty tank will burn out your heating elements in seconds—a mistake known as “dry firing.”
| Temperature Setting | Pros | Cons |
|---|---|---|
| 120°F (49°C) | Energy efficient, prevents scalding, ideal for most homes. | May run out faster during heavy use. |
| 140°F (60°C) | Kills all bacteria, provides longer showers. | High risk of scalding, higher energy bills. |
Verifying Your Hot Water Cylinder Thermostat Replacement
Restore the power at the breaker. Most electric water heaters take about 60 to 90 minutes to recover. After an hour, check the water temperature at a nearby faucet. We strongly recommend a setting of 120°F. This is the “sweet spot” recommended by the Department of Energy for balancing safety and savings. Check out our tips on discovering affordable water heater service for more ways to keep costs down.
Long-Term Maintenance Tips
A thermostat replacement is a great time to start a regular maintenance routine.
- Annual Flushing: Drain a few gallons of water from the bottom of the tank every year to remove sediment. Sediment acts as an insulator, making your elements and thermostats work harder.
- Anode Rod Check: Consider an anode rod swap every 3-5 years to prevent the tank from rusting out.
- Inspect the T&P Valve: Ensure your Temperature and Pressure Relief valve isn’t leaking. If it is, you might be dealing with the weeping valve problem.
Frequently Asked Questions about Thermostat Replacement
How do I know if I should replace the upper or lower thermostat?
If you have no hot water at all, it is usually the upper thermostat or the high-limit switch. Since the upper thermostat controls the initial heating and the power flow to the bottom, a failure there kills the whole system. If you have some hot water but it runs out fast, the lower thermostat has likely failed.
Can I use a universal thermostat on any brand like Rheem or AO Smith?
Yes! Most residential electric water heaters use standard TOD or Apcom mounting styles. Universal replacement kits are designed to be compatible with Whirlpool, Rheem, AO Smith, GE, Kenmore, and Bradford White. Just ensure the voltage (usually 240V) matches.
Is it safe to replace a gas water heater thermostat as a DIY project?
We generally advise against this. On a gas water heater, the thermostat is integrated into the gas control valve. Replacing it involves disconnecting gas lines, which carries risks of leaks, explosions, and carbon monoxide poisoning. For gas units, it’s always safer to call a licensed professional.
Conclusion
A hot water cylinder thermostat replacement is a rewarding DIY project that can restore your home’s comfort and improve energy efficiency. By following the safety steps, ensuring a flush mount against the tank, and setting your temperature to a safe 120°F, you can extend the life of your water heater and save money on your monthly bills.
However, we know that working with high-voltage electricity isn’t for everyone. If you’re located in Salt Lake City, Draper, or anywhere across the Wasatch Front and feel unsure about the process, Honest Home Services is here to help. We provide expert, reliable Salt Lake City water heater repair with upfront pricing and 24/7 emergency support. Whether you need a simple thermostat swap or a full system evaluation, our local technicians are just a call away. Don’t settle for cold showers—let us help you get things flowing right again!